Step-by-step guide on how to make an appointment for patients on the new Appointments Page.
Do note that the changes, once updated, are not reversible.
Table of Contents:
1. Creating/Updating Appointments with Existing Patient Details
2. Overwriting/Editing Patient Details
3. Booking appointment for new patients
4. How to view changes made to patient's details
5. Guide Videos
Creating/Updating Appointments with Existing Patient Details :
- Tap the calendar view and a pop-up for creating an appointment is initiated.
- Use the Existing Patient field to search any available profile (using Name, Identification Card Number, or MRN Number), and choose the correct profile from the search result.
- The selected patient will auto-fill into the Patient Details field. To cancel the selection > click the X button in the Existing Patient field [highlighted in green box].

Once existing patient is selected, the boxes will be grey and all details will not be editable.
To change the patients details, click here.
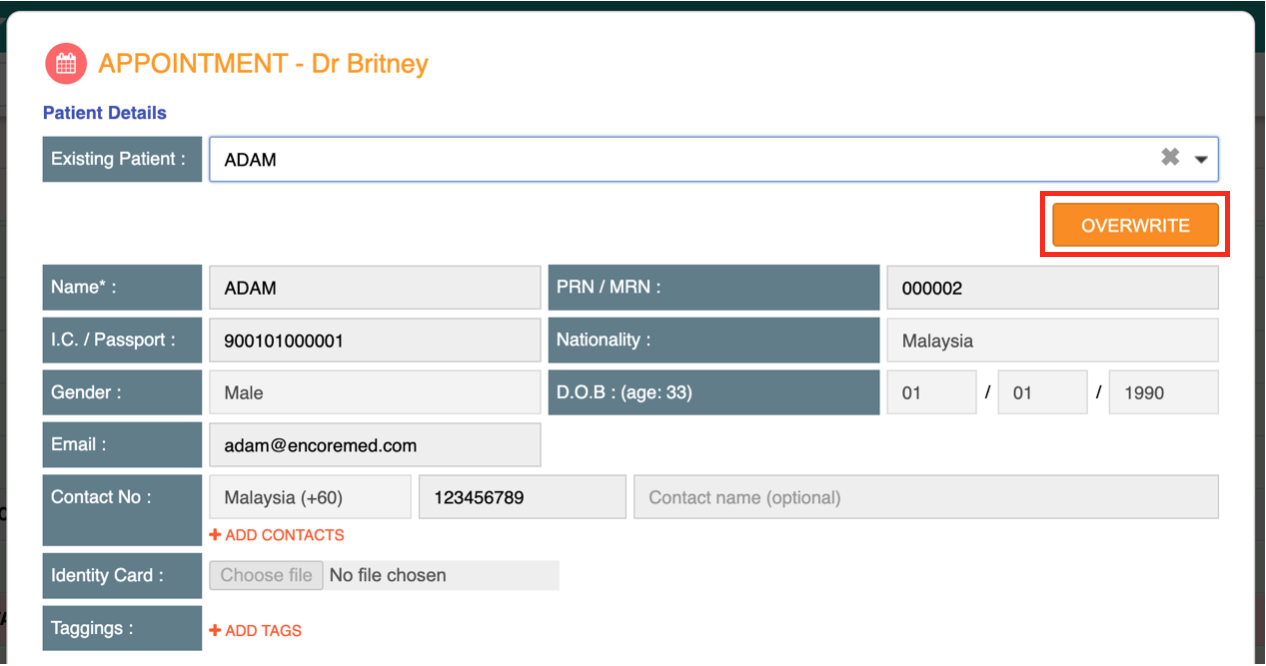
Overwriting/Editing Patient Details :
- On the selected Patient, fields are greyed to avoid any direct editing. To amend any of the fields, click the [Overwrite] button. This will activate the Patient Details fields for updating.
- User can add, erase or change all the Patient Details fields. Please note that data is not validated or crosschecked with existing data in the [Overwrite] mode.
All changes made to patients details will be recorded in the patient logs.
3. If the user decided not to proceed with the intended changes, the user needs to click [Revert] before the Appointment Details update is confirmed.
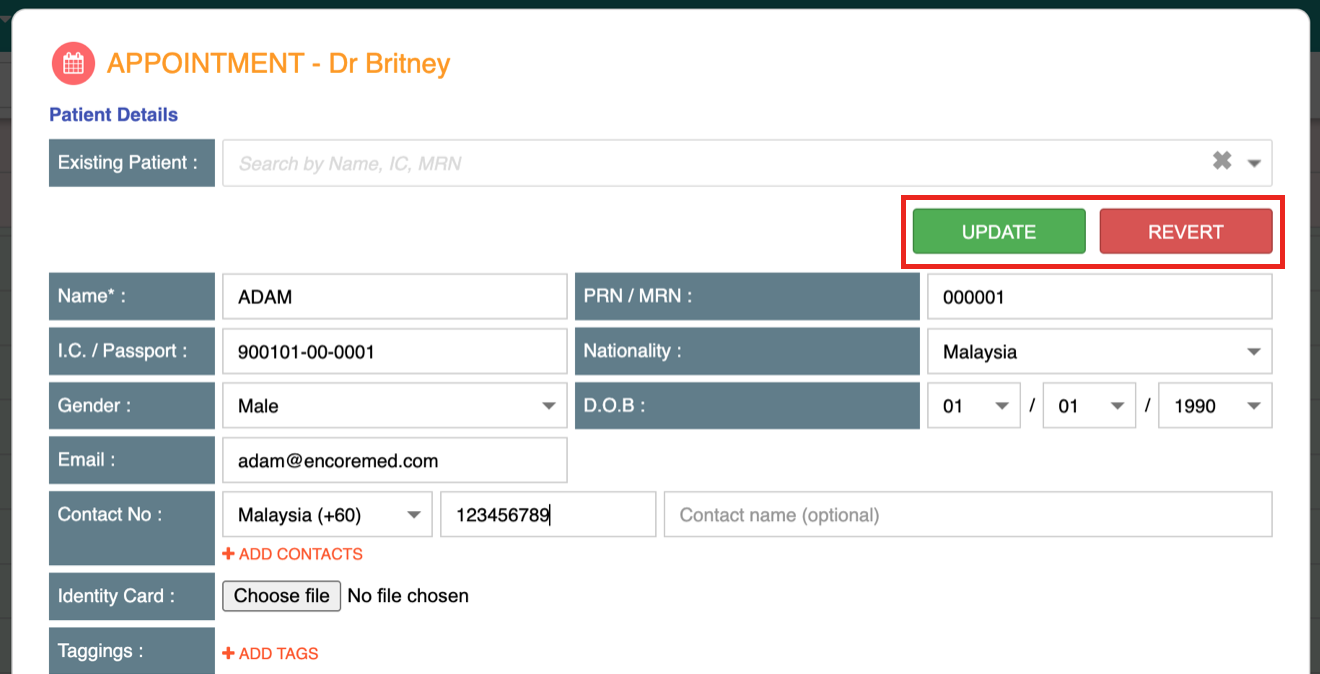
4. If the user is satisfied with the changes, the user needs to save the changes by clicking
[Update] before the Appointment Details update is confirmed. A dialog box will be triggered to confirm the action.
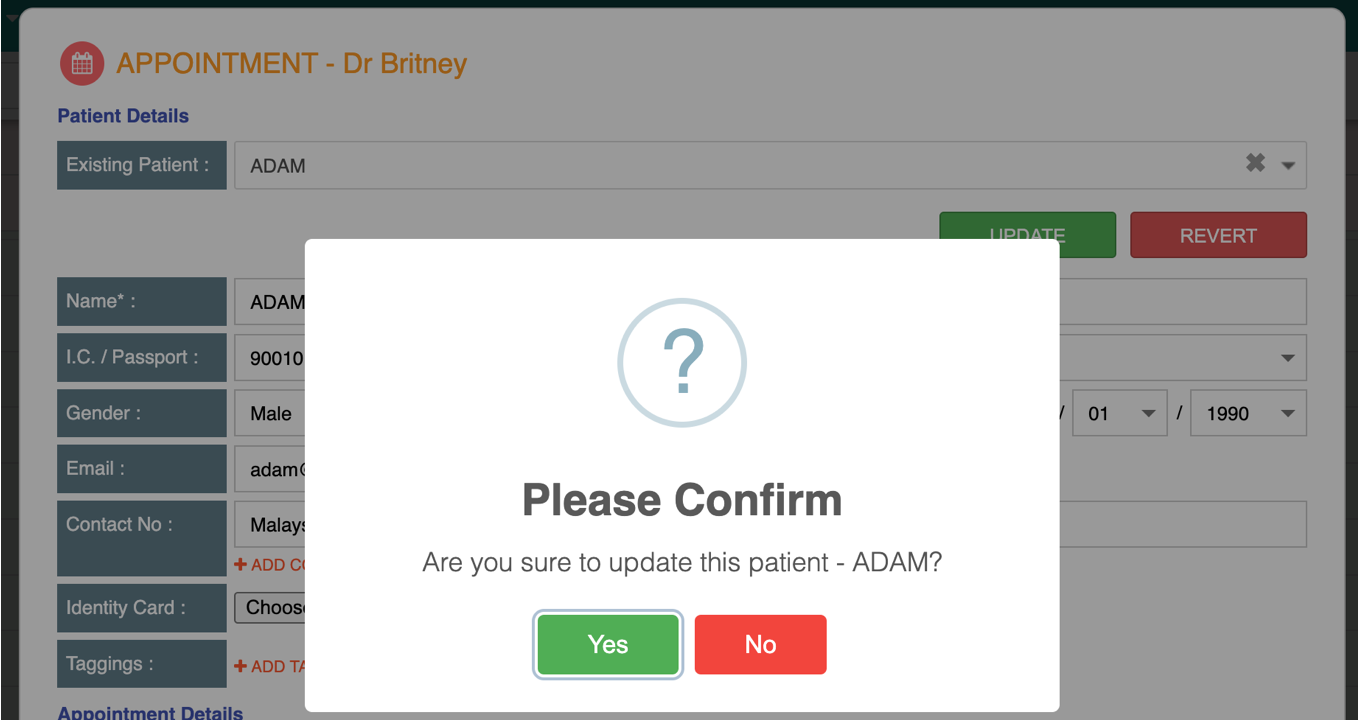
Do note that the changes, once updated, are not reversible.
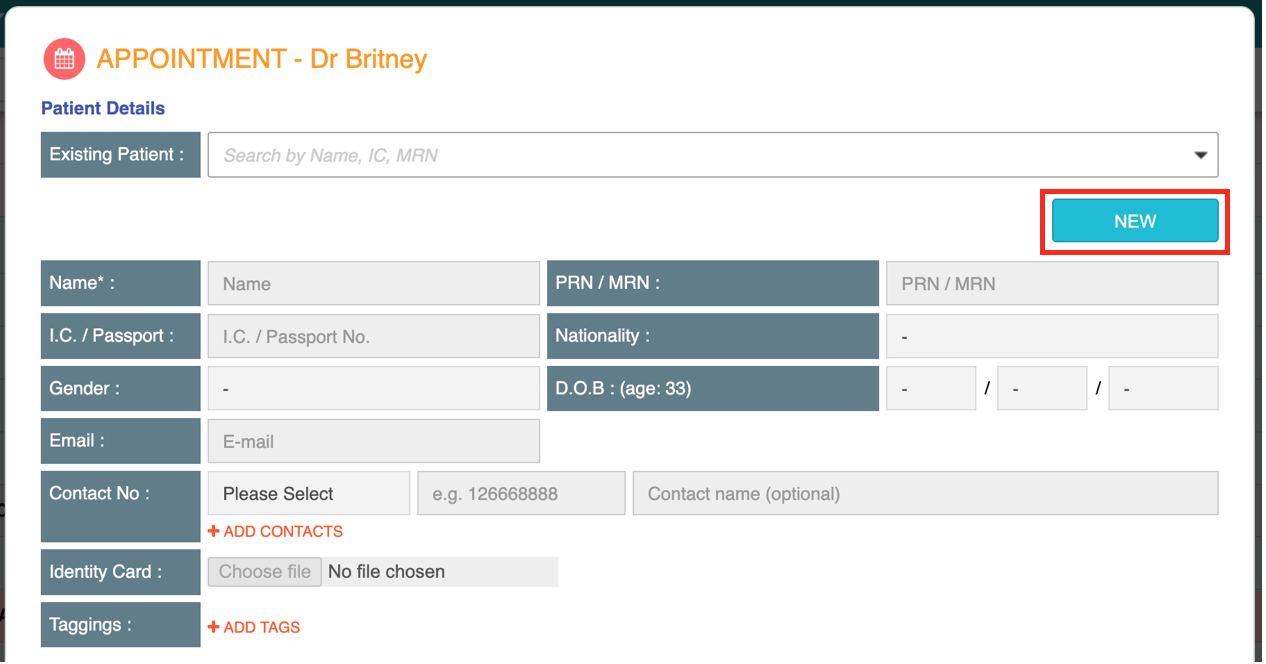
Booking appointment for new patients :
- After selecting the time slot for the doctor, click on [New].
- Fill up the patient details. The minimum information needed is the patient's name. Click [Revert] to cancel the action of adding a New Profile. The [Existing Patient] field is not accessible during this state.
- Click [Save] to save any updates on Appointment Details.
- Click [Close] will not save any updates on Appointment Details.
How to check patient logs:
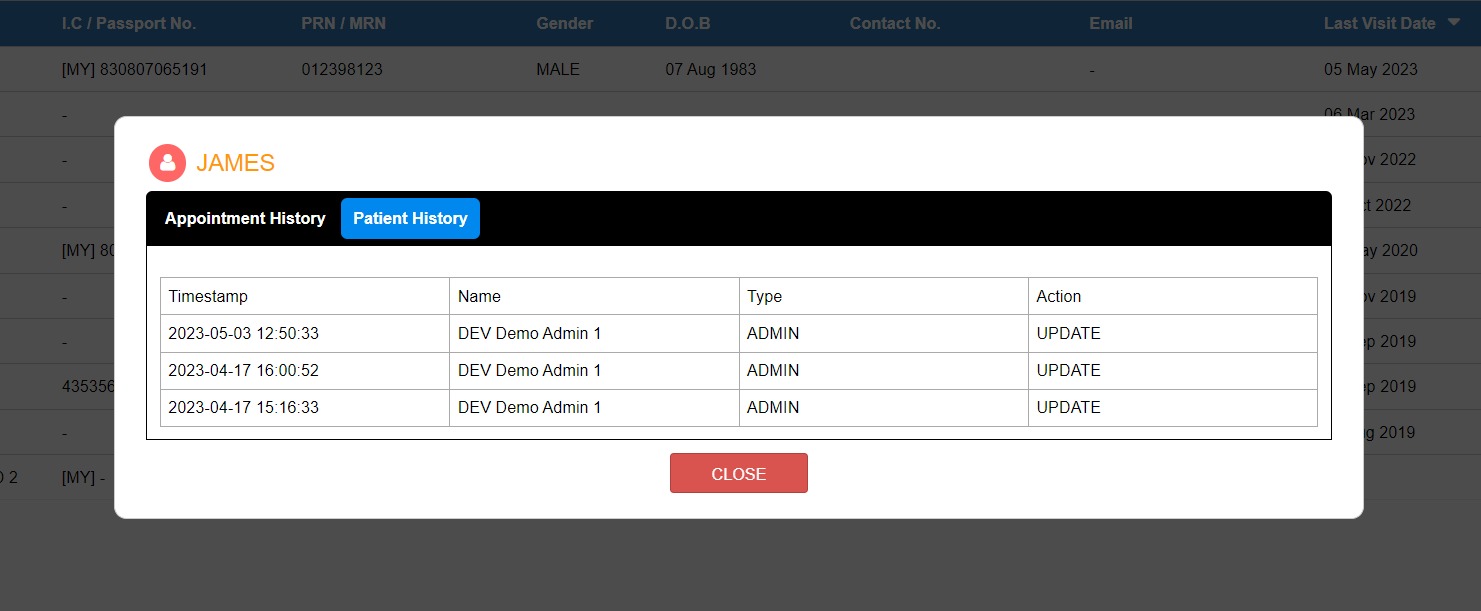
- Navigate to Patients > Patient Log and search using the patient's information.
Click > Patient History to view the changes that have been made to the patient's details.
If you are adding existing or new patient and would like to update patient's details from manage queue page, may refer to our tutorial videos below.
How to add patient existing patient in manage queue :
How to add in new patient in manage queue :
How to update's patient details in manage queue :
This feature is available to selected users and permissions only. Do refer to your IT admin if you need to review the logs.